


Creating your perfect Go Moto camera setup is about angle, stability, and safety. You get everything you need to start filming with every Go Moto chin mount, but here are a few points to keep in mind if you’re unsure about the right setup.
📖 For full installation instructions, read our installation manual →
Step 1: Choose your mount
- Make sure you are using the exact mount for your helmet model. Not sure which one? Find the right mount →
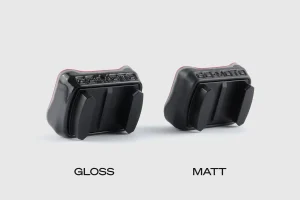
- Check whether you want a matte or gloss finish, depending on your helmet’s look and lighting conditions.
⚠️ Using a mount from a different helmet may damage your helmet or reduce adhesion.
Step 2: Your action camera
Whether you already have an action camera or you still need to get one, our Go Moto mounts work with all action cameras, including:
- GoPro Hero / Session
- Insta360
- DJI
- Xiaomi
Check your camera’s mounting buckle and make sure it fits securely.
We use the universal mounting system found on almost all action cameras. Some cameras, like the Insta360 or DJI models, may require an adapter to connect properly. This adapter usually comes with your camera, but it’s best to check beforehand to avoid any surprises.
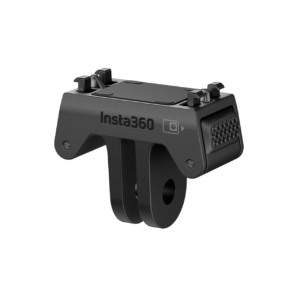
Our chin mounts are mostly used with standard-shaped action cameras, but they’re also compatible with elongated models such as the Insta360 X4 and X5. These can be easily mounted using the included buckle accessories, or you can customize the setup with our range of optional accessories.
Step 3: Set the camera angle
The ideal camera angle depends on:
- Your riding style
- Helmet orientation
- Desired field of view
- If using an extension arm, adjust it and tighten the screw before final mounting.
- Test the angle while sitting on the bike and check the footage to ensure it captures the view you want.
Step 4: Apply safety features
⚠️ Always use the supplied safety tether. Ensure the tether is attached close to the mount and to your camera. This gives extra protection in case the mount fails under impact or faulty installation. No safety tether = no warranty.
Step 5: Check for interference
- Make sure visor, chin, and vents do not touch the camera or mount.
- Ensure nothing obstructs the lens or blocks airflow to the adhesive.
Accessories
Enhance your setup with Go Moto accessories:
- Vertical Mount: adjust height and get unique angles
- Wind Reduction Sleeve: reduces wind noise on audio recordings
- Extension Arms: increase flexibility and perfect your shot
Tips for best results
- Use the safety tether for all rides
- Test-fit your mount before removing the adhesive backing
- Double-check camera angle while sitting on your bike
- Clean the mounting surface thoroughly with the provided 3M VHB cleaner
Common mistakes to avoid
- Do not install the mount on another helmet or in the wrong spot
- Do not use the mount immediately after applying the adhesive, and do not mount a camera — wait at least 24 hours (preferably 72 hours)
- Do not attach heavy accessories that exceed the mount’s designed load
- Poor surface preparation is the leading cause of mount failure — never skip cleaning or preparing the surface